Blackout profiles
Blackout profiles provide a simple yet powerful way to create complex blackout conditions. Multiple event conditions (e.g. on several hosts and/or objects) can be grouped together within a same profile.
Once a blackout profile has been created, it can be used to define a “profile blackout” – a blackout that will apply to all events matching one of the conditions set in the blackout profile.
i Even though blackout profiles are used in the “blackout” module, they are managed within a different ProactivePack module. You need to configure the module and its security in the “Blackout Profiles” ProactivePack module.
Blackout profile creation
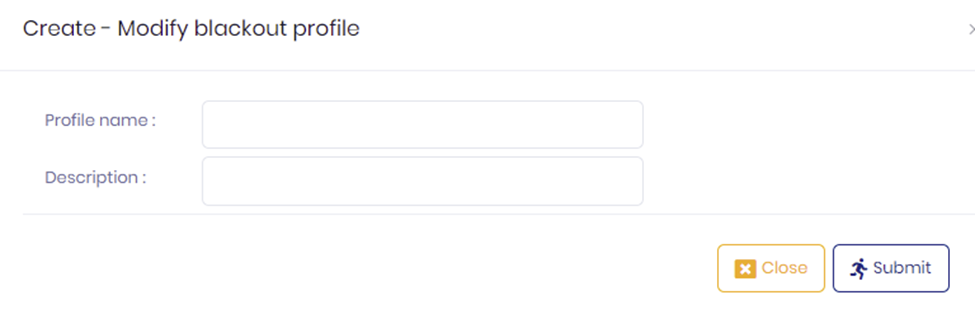
To create a profile, first provide a name and description :
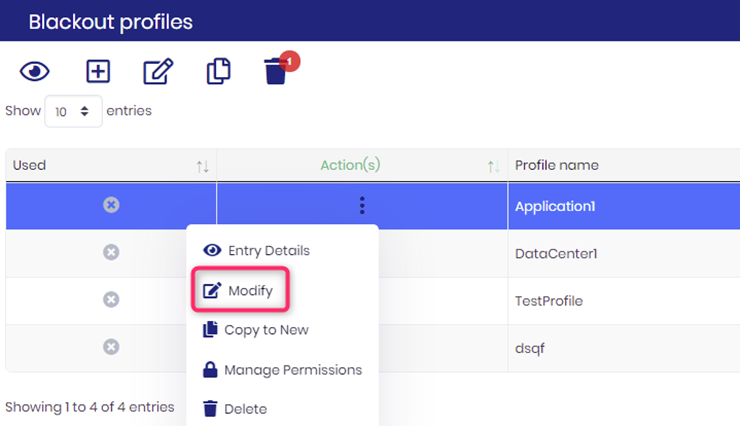
Once the profile has been created, click on “manage profiles” to access your profile, then click on “modify” :
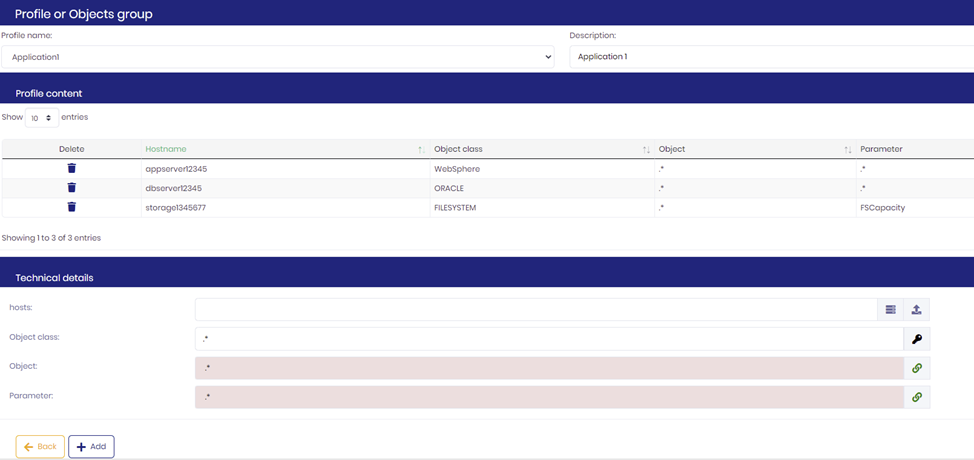
The following dialog lets you add object conditions to your profile :
Configuration
Basic permissions are set at module level and determine essentially which users or groups can view, create, and delete blackout profiles. For example :

Restricting access to profiles
Once a blackout has been created and is available in the ProactivePack console, users who have permission to manage blackouts can set permissions on which user group(s) can actually set blackouts on those profiles.
By default, a profile can be blacked out by any user who can access the “profile blackout” blackout type.
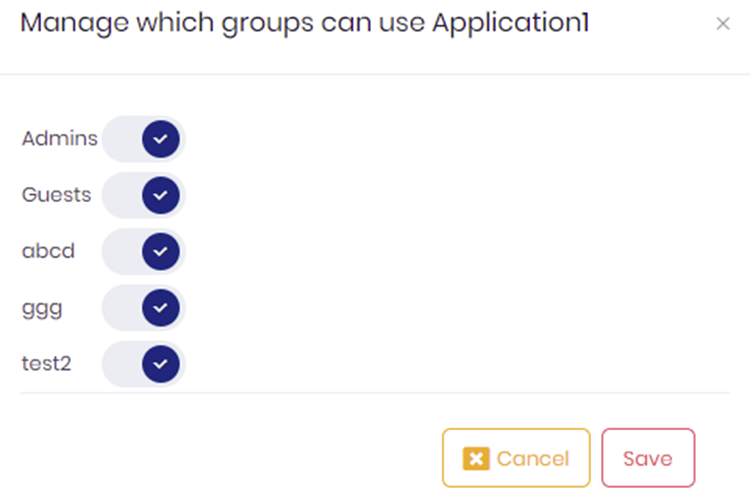
To set permissions on a profile :
1. Select the profile in the console
2. Using the context menu for the profile, select “manage permissions”
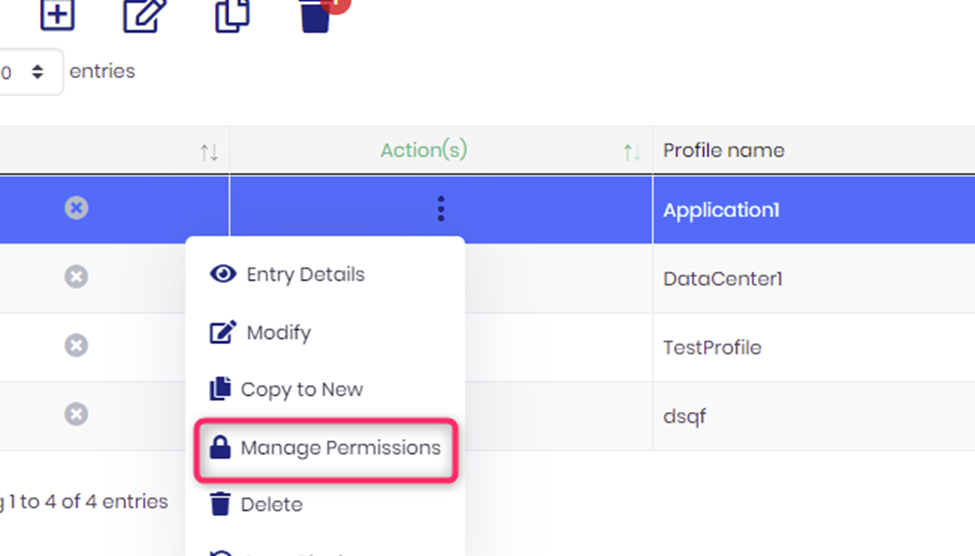
3. In the modal dialog, tick the checkbox in front of each user group who can blackout the selected profile
